Homemade Cold Brew Guide
Follow our easy guide for homemade cold brew and enjoy an iced alternative for those hot summer’s days. The only equipment needed is a cafetiere, some scales, and a refrigerator.
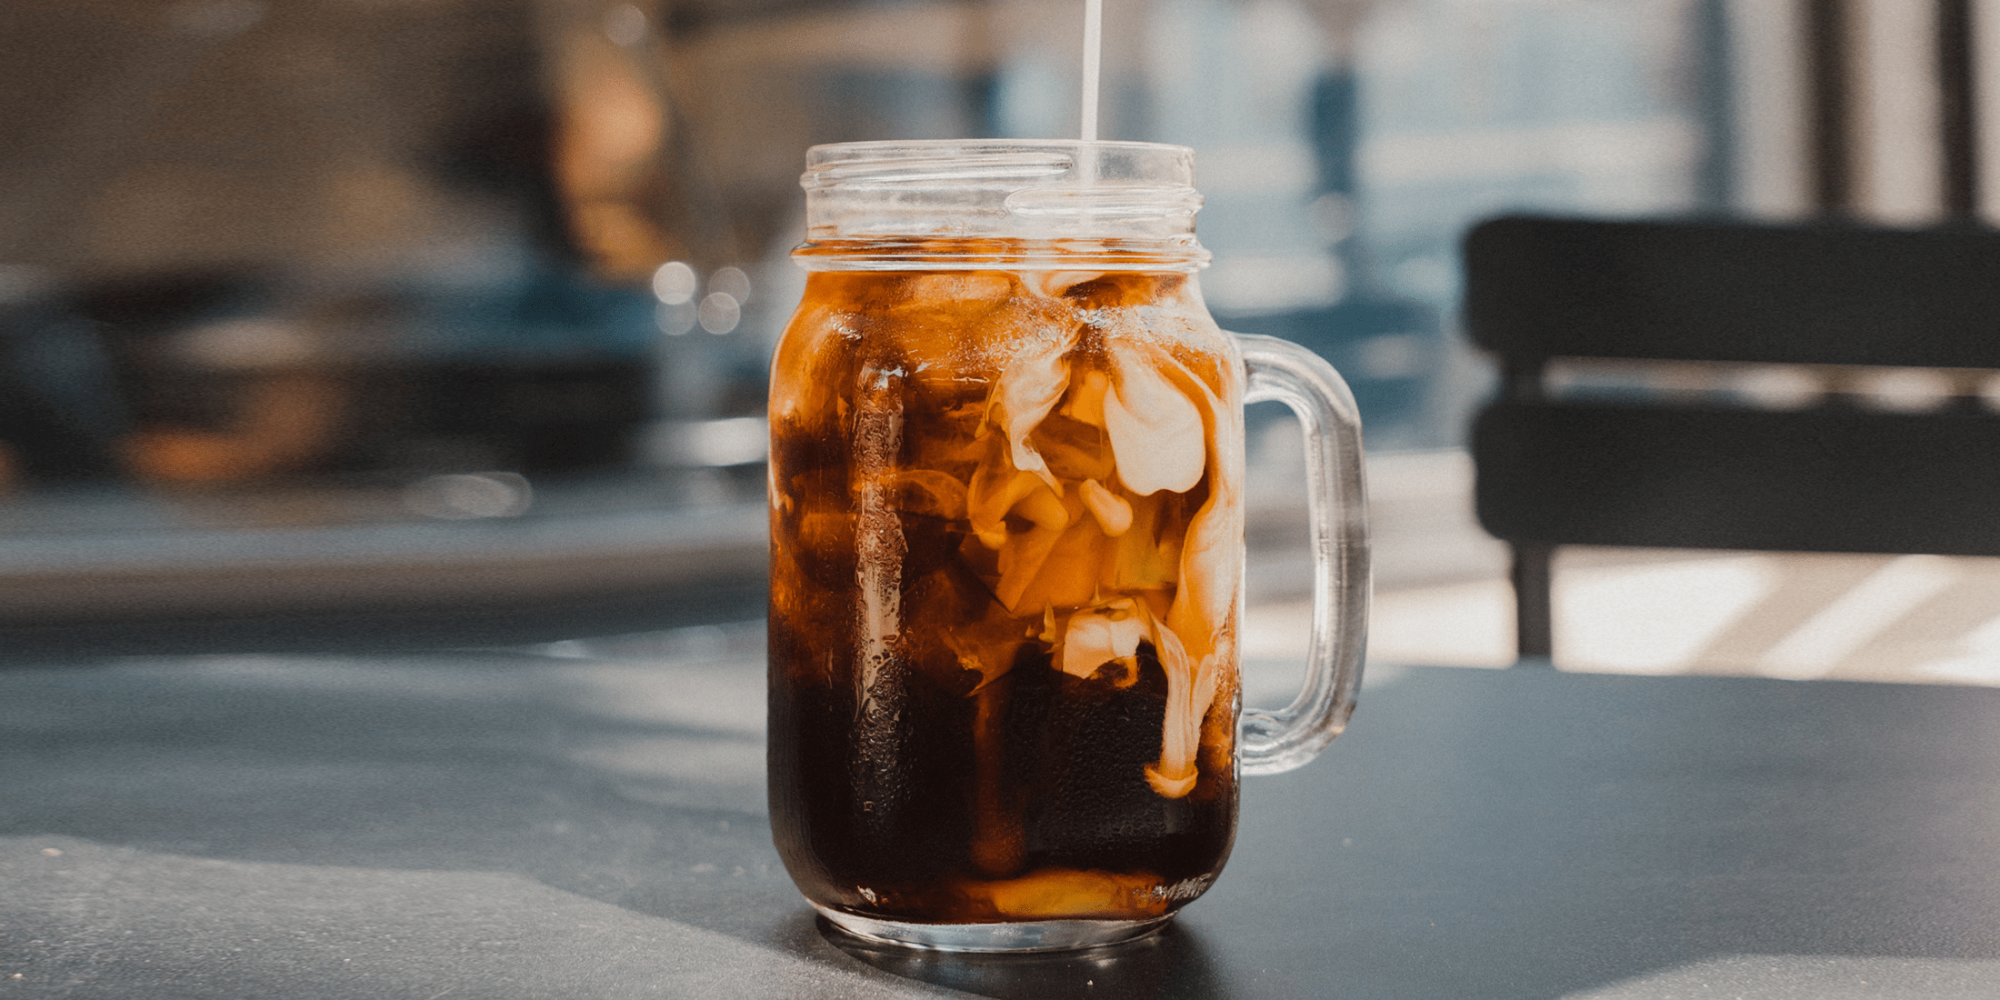
Although it may look complicated, cold brewing coffee is actually one of the simplest ways to make coffee. It is easy to make a relatively large quantity that will last few days, depending of course on how much you drink. This guide is for a concentrated batch that can be diluted to taste, or have cold milk added to it.
The first step is to weigh out your coffee. As we are using a cafetiere, the grind size should be quite course (the same as if you were making a regular brew with it). As we are making a larger batch, we are going to use 120g of coffee. The amount of cold brew you are able to make is going to be dependent on the size of your cafetiere, but working with roughly a 7:1 ratio is fine.
With the coffee in the cafetiere, add 850ml of room temperature water and stir. For a smaller cafetiere, use 80g of coffee and 550ml of water. Using filtered water is preferable as it results in a better tasting coffee.
The next step is to put the lid on the cafetiere and wait for 12 hours. For this reason, it’s usually best to make cold brew in the evening and leave overnight. It’s also alright to put it in the fridge, just give it an extra couple hours to brew.

Once the 12 (or so) hours are up, just plunge the cafetiere like you would normally and pour the cold brew into a bottle/mug/glass/jug. You can run the coffee through a paper filter for a cleaner brew if you wish.
Then the only thing left to do is chill and dilute to taste. If the concentrate isn’t strong enough, simply leave it to brew longer before filtering next time. The cold brew should last anywhere from a few days to a week if stored in a refrigerator.